Setting Up Email for the Apple iPhone- iOS 11 & iOS 12
Last updated: September 8, 2022
Estimated reading time:1 min
Setting Up Email for the Apple iPhone- iOS 11 & iOS 12
Before you start, please ensure that you have your email address, password, username. Also, you must have set up the internet already, before we start.
Please follow the guide below to set up your email on your iPhone (iOS 11/ iOS12).
Note: substitute “yourdomain.com” with your domain name.
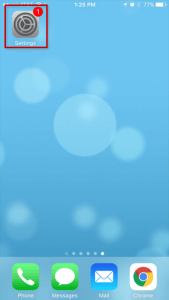
1) Firstly, tap the “Settings” icon.
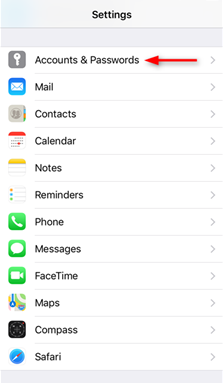
2) Secondly, tap “Accounts & Passwords“
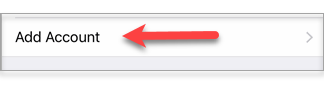
3) Tap “Add Account”.
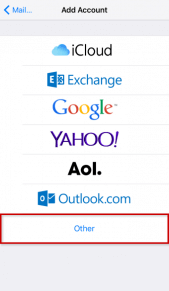
4) Next, tap to select the account type: Other.
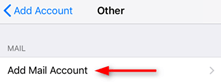
5) Tap “Add Mail Account“.
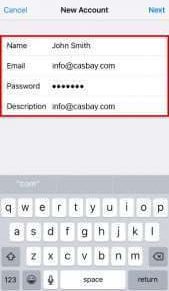
6) After going into New Account, please enter:
Name– it will be visible as the sender
Email– the address you want to add
Password– will be used to log in to Webmail
Description– as a name for the account on your device
Tap Next to continue the next step.
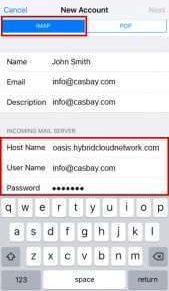
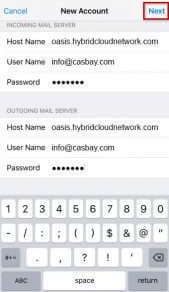
7) Select IMAP (It is the default. The option you’ve selected will be highlighted blue.) Then, under “Incoming mail server”:
Set “Host Name” to mail.yourdomain.com (or your server host name or server’s IP address)
9) Disable syncing of Notes (default). Then, tap Save.
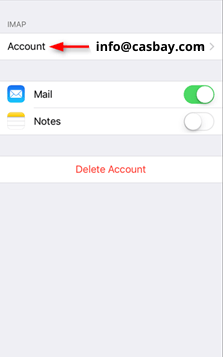
10) After that, tap the account you have added. You can recognize it by the description you entered earlier.
11) Tap your account again to open the settings.
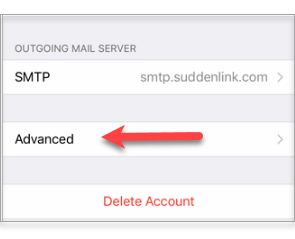
12) At the bottom of your screen, there is Advanced. Tap it to continue.
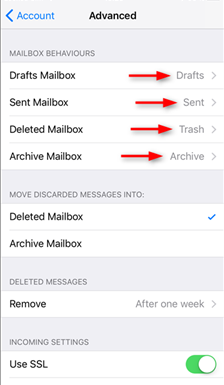
13) Then you will need to check if the Mailbox behaviors are set correctly. These settings will determine the location for saving your emails.
Select the following folders on the server:
Drafts mailbox- Drafts Sent mailbox- Sent Deleted mailbox- Trash Archive mailbox- Archive If no folder or you have selected a different one, tap the mailbox and select the correct folder on the server. The name of the folder is in English.
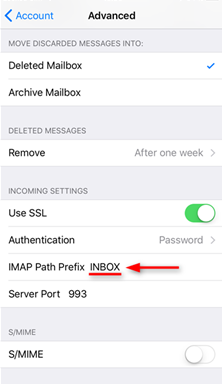
14) Lastly, scroll down to the bottom and enter INBOX as the IMAP path prefix (all in CAPITALS).
1) You are all done! Now you have set up your email account successfully on your iPhone.