Configuring WHM for the first time (VPS and Dedicated Server)
Last updated: September 8, 2022
Estimated reading time:2 min
How do I configure initial WHM settings?
Before you can use cPanel, you will need to set up WHM. This is where you will do some basic setup for the web server. To set up WHM, you will need a Dedicated Server or VPS. The WHM Initial Setup is done using the Initial Setup wizard.
To access WHM, use either the Control Panel – WHM link from the Customer Portal, or the direct URL.
Once you have connected to the Server you will be on the WHM Login screen. Log in as follows:
Username – log in as root
Password – enter the password you set for the root user when you provisioned the Virtual Server
There are six steps to the WHM Initial Setup. After the Initial Setup is complete, you will be able to make selections from the Feature Showcase, and then continue to WHM.
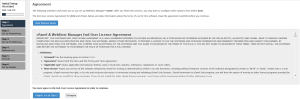
Step 1 – Agreement
When you log in to WHM for the first time, you will need to accept the End User License Agreement (EULA). If you do not accept the EULA you will not be able to use the cPanel software.
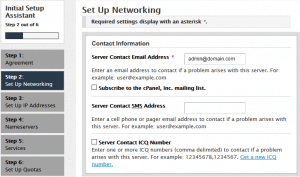
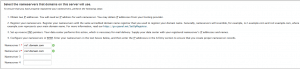
Step 2 – Setup Networking
Contact Information – You are required to enter an e-mail address for server contact information. This can be any valid e-mail address. You can also enter in SMS, AIM, or ICQ contact information if desired.
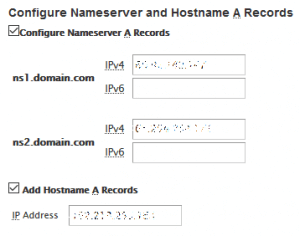
Hostname – this will be pre-populated with the server hostname that you entered when the Virtual Server was provisioned. You should generally have no need to make any changes here.
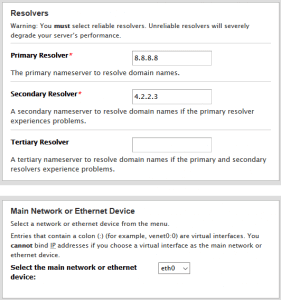
Resolvers – this will be pre-populated with the eApps primary and secondary nameservers. You can enter the third resolver if you have one.
Main Network/Ethernet Device – this is set by default to the eth0 interface on the Virtual Server. You should have no need to make changes here.
Once you have entered your Contact Information and reviewed the other options, click Save & Go to Step 3.
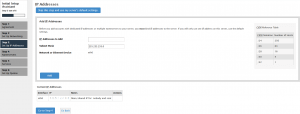
Step 3 – Setup IP Addresses
If you purchased additional public IP addresses as part of your Virtual Server provisioning process, you can add them here. If you do not need to add any new IP addresses, click on Skip This Step and Use Default Settings to continue.
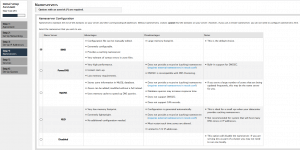
Step 4 – Nameservers
Leave this section at the defaults – if additional configuration is needed it can be done from WHM directly. Click on Save & Go to Step 5 to continue.
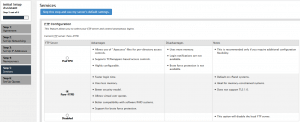
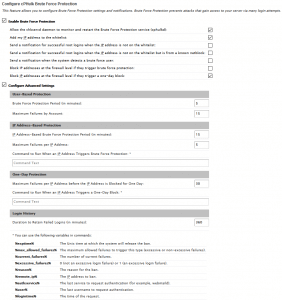
Step 5 – Services
Leave this section at the defaults, and make any configuration changes in WHM directly. Click on Skip This Step and Use Default Settings to continue.
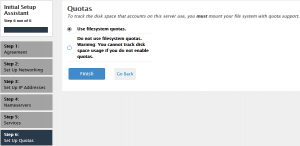
Step 6 – Set Up Quotas
Leave this at the default, and click on Finish Setup Wizard.
Feature Showcase
After you finish the Setup Wizard, you will be on the Feature Showcase. Here you can enable highlighted features available for WHM and cPanel. Make sure to carefully read the available documentation for each feature you wish to enable.
If you have selected any Features, click on Save Settings, otherwise click on Exit to WHM. This completes the WHM Initial Setup and takes you to the main screen.