

WordPress Security Plugin- Wordfence
Our safety crew recommends a beneficial security WordPress plugin referred to as “WordFence”
This tool will help with scanning any intrusion tries into your WordPress website as nicely as with scanning for any malware that exists.
Besides, it has a Premium version which consists of extra protection selections however requires some expense.
So, you can check out free version here.
Latest version –> 6.1.10 (as of 11th July 2016)
How To Install Wordfence WordPress Security Plugin
There are many essential types of WordPress plugins for the best performance needed by small and mid-size businesses (SMBs). Below we’ll focus on how to secure WordPress with the Wordfence security plugin. Wordfence has been one of the most popular WordPress security plugins for years because of its long list of features:
- Brute-force protection against bad bots and automated cyber attacks
- WordPress login security options including multi-factor authentication
- Consoles with verbose server related information for easier debugging
- Malware scanning for the website and child directories within the website root directory
- Some security information and event management (SIEM) features such as live traffic monitoring
- And others
Installing the Wordfence Plugin
To install Wordfence Plugin, you do not need to enter an API key for the free version.
Install from the Dashboard
- First off, log into your WordPress dashboard.
- Then, install the Wordfence plugin and activate it.
- Finally, on the left, select Wordfence to start hardening WordPress.
Install via WP-CLI
- Firstly, log into SSH.
- Secondly, install and activate Wordfence with WP-CLI using the following command:
wp plugin install wordfence –activate
Install Manually
- To install the plugin manually, you would first need to download the plugin zip file from WordPress.org/plugins.
- After that, upload the zip file and extract the folder to the website’s
wp-content/pluginsfolder. - Lastly, log into your WordPress site or use the WP-CLI command to activate the plugin:
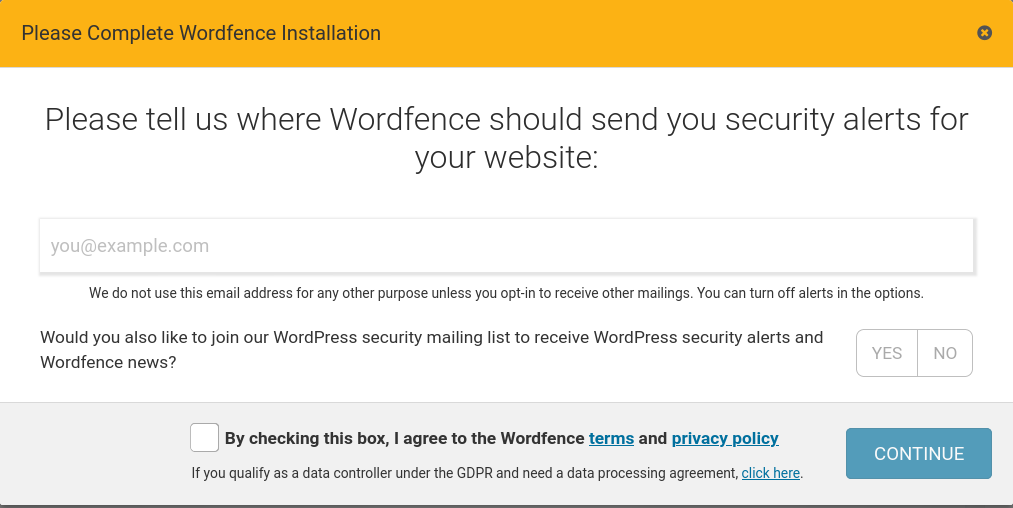
After activating Wordfence, you will be prompted with a message stating “You have successfully installed Wordfence.” Enter your preferred email address for Wordfence email notifications, agree to the Wordfence terms, and Continue. If you don’t have Wordfence premium (paid) license, click No Thanks at the bottom.
When you first visit some Wordfence pages, you’ll be prompted with pop-ups explaining notable features.

